Hi Dan here, the first in a series of occasional articles mapping out what's in my mind.
So. What to do with the armies I collect that are getting bigger and bigger?
Or...is that partly the answer and not the question? Should I ask myself what collections should I invest time in to make them bigger? Or should I be enjoying making smaller themed armies for different theatres, different types of basing to denote different environments?
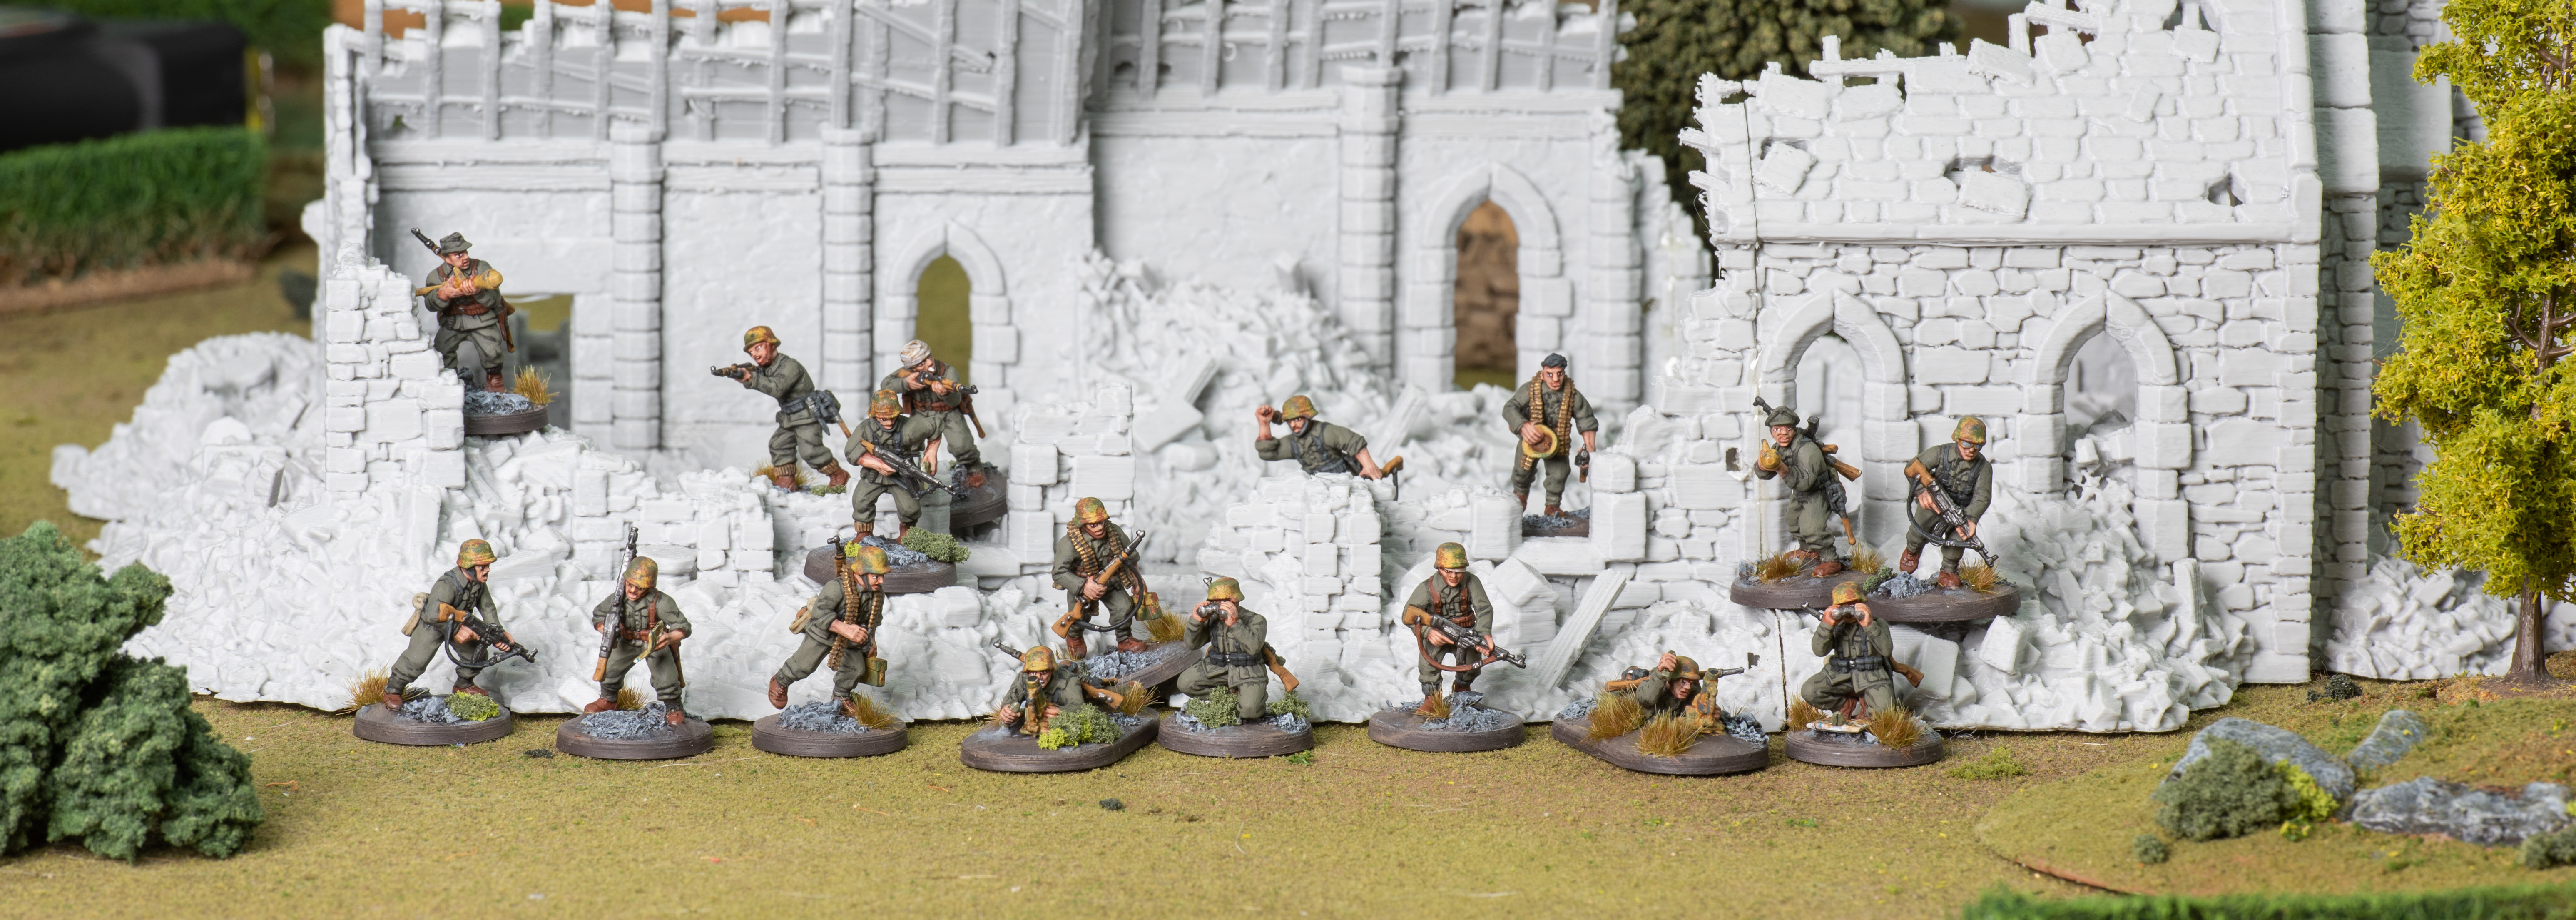
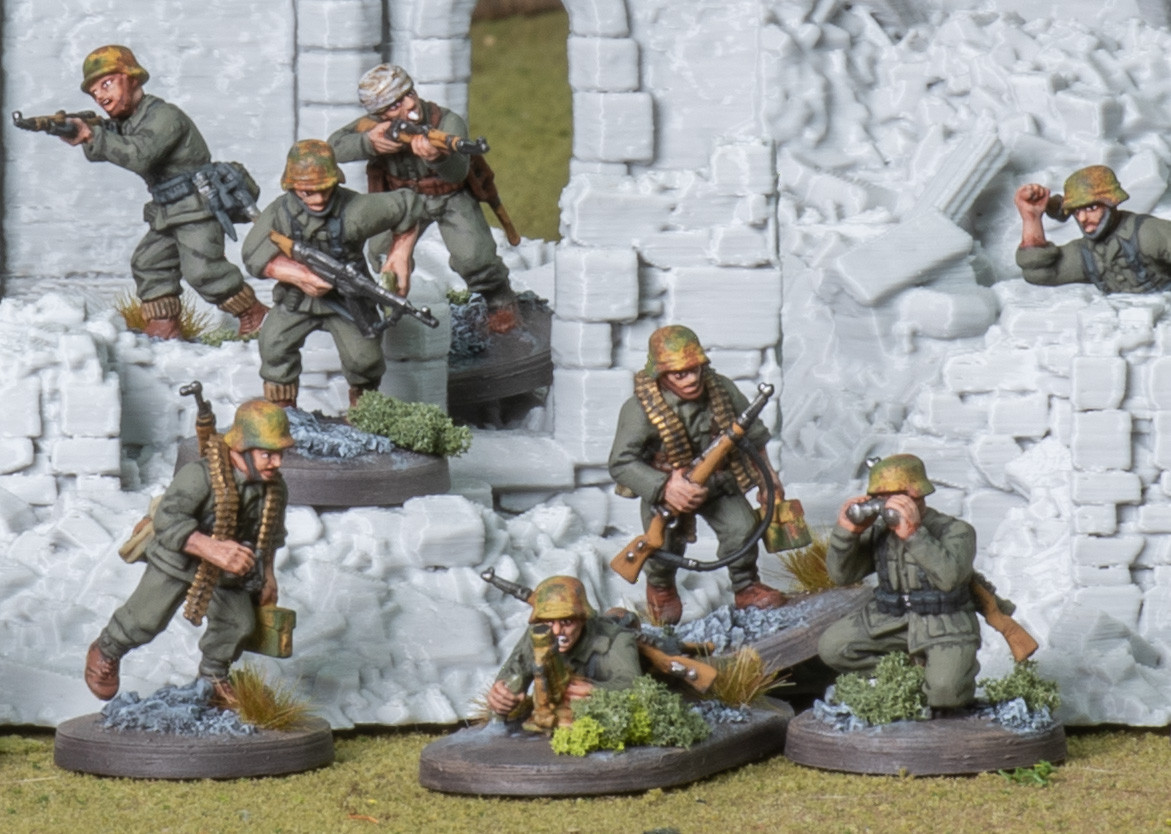
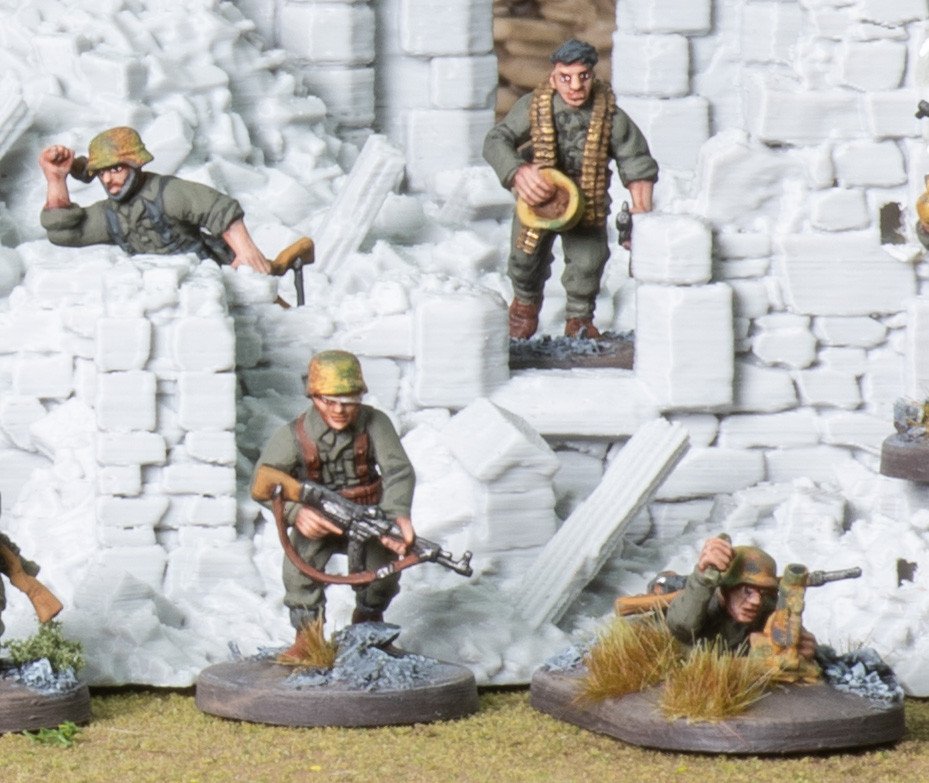
The reality is that I could go in either direction and have fun collecting, modelling, painting and playing with my forces. The idea about being able to invest time in a small bespoke force is a great one, and one I've seized upon a number of times such as my 'small Fallschirmjager force to represent a part of the battle for Primosole Bridge'...look how that turned out!
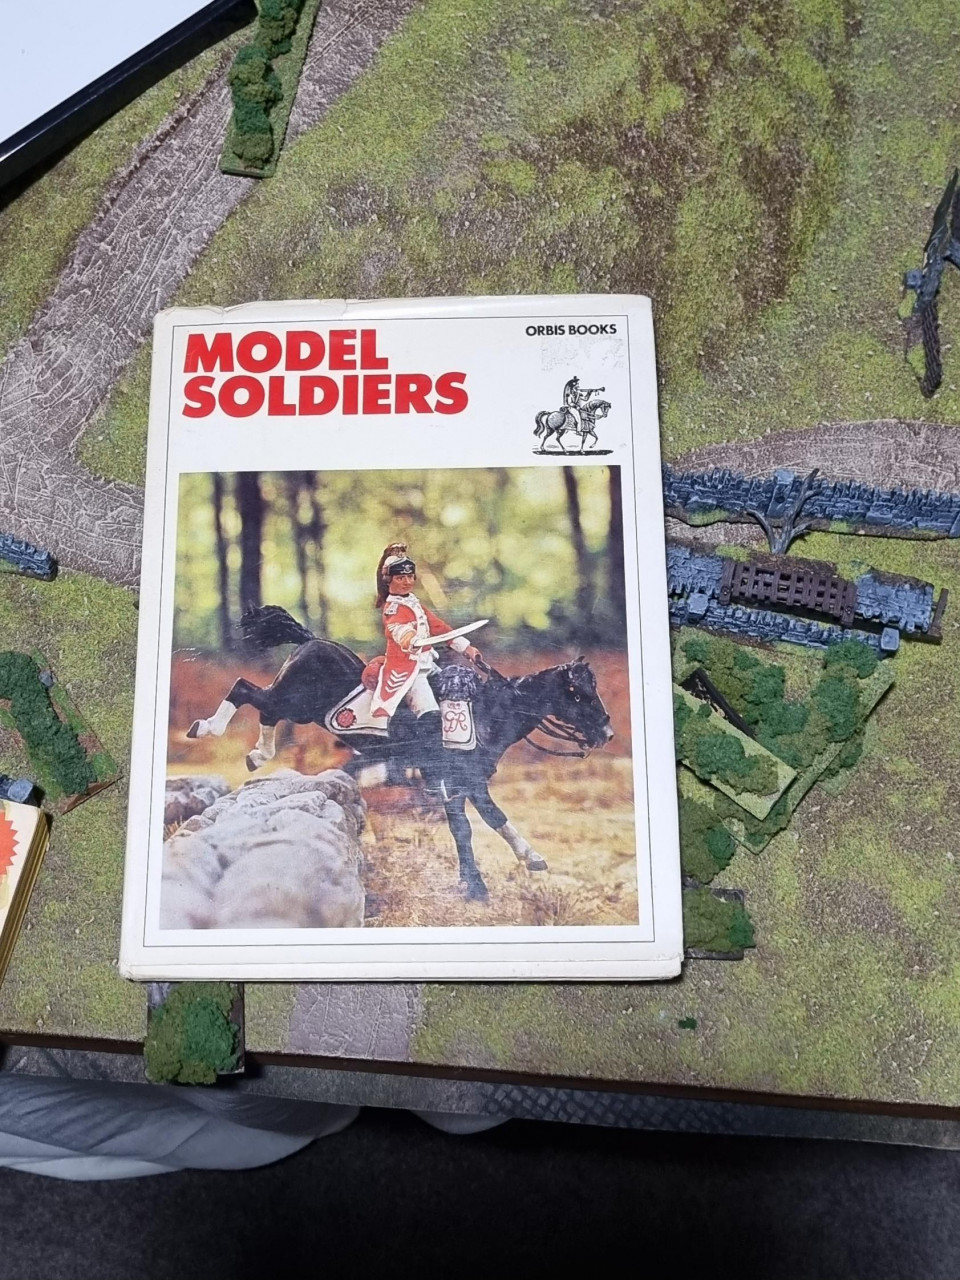
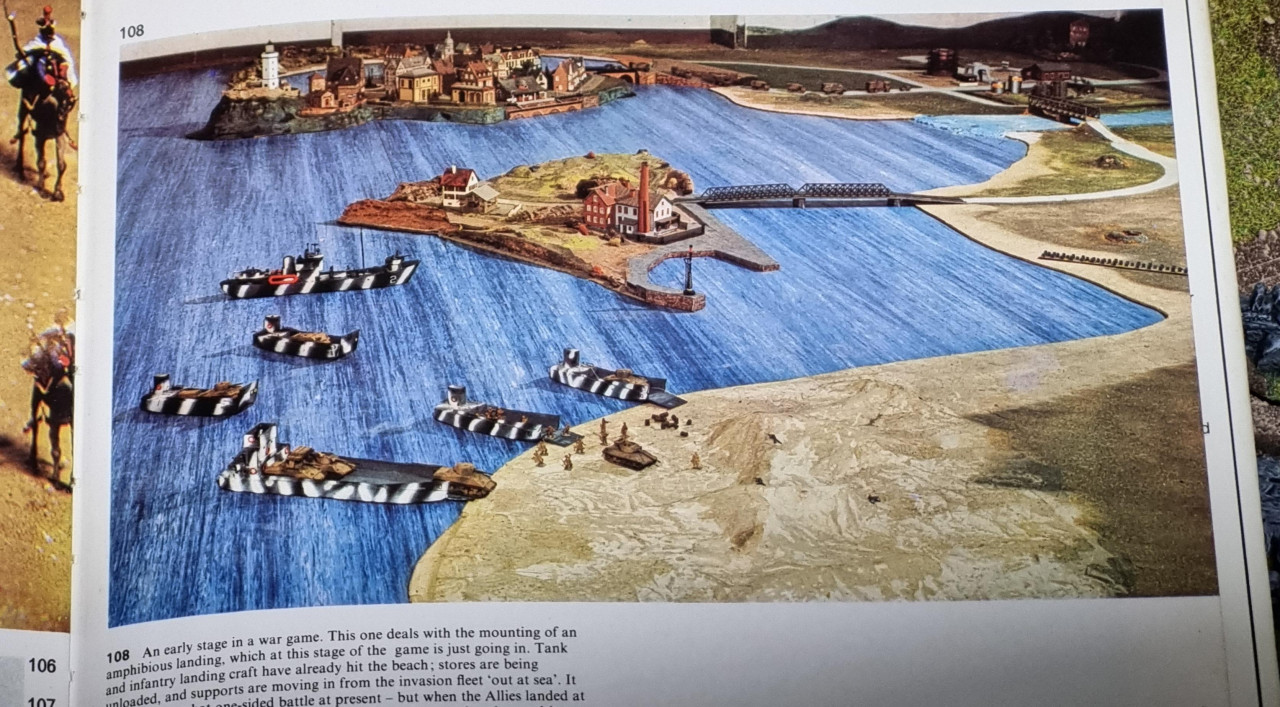
But one of my wargaming dreams /goals has always been to play BIG games of fully painted armies on the battlefield in WW2 battles. Ever since our mother bought me the Orbis book of 'Model Soldiers' and I salivated over a picture showing what appeared to be a corner of a larger battle incorporating an amphibious landing. Of course, I had -as a young boy- vast armies of 1/72 green and grey plastic 'army men' and tried to emulate the picture and had many many happy hours doing so! But now I want to do so with beautifully sculpted metal and plastic figures and terrain and build it on a scale where i can provide everything, yet others can join in games in my version of 'Valhalla"!
So...time for a Q&A for myself;
What Scale would I choose for these big collections and big games?
Bigger games in my definition are lots of figures, possibly (probably) multiple players per side, large playing areas. My vision is 28mm miniatures so they can be seen by players flanking each other while playing on a ( or multiple) long/deep playing surface. However...I already have 28mm in Historical WW2- armies that continue to get larger- so that's a no brainer for me. in Fantasy and 40k i have nice armies, but not huge armies so if i wanted to choose a different scale I could. And the same goes for other historical periods. For instance; I have a desire to do American Civil War ( ACW). I have a great start waiting for me in the Perry Miniatures Battle in a box set...but I have been thinking is that the right size for ACW battles? should I be into 15mm/12mm/10mm for it? The Warlord Games Epic Black Powder ACW starter sets in plastic are great value ( although the individual sets start getting more expensive than metal manufacturers for some reason...) and inspiring to perhaps be worth a look. Watch this space for decisions, lol.
What periods would I collect figures & terrain for to play in Big, Big games?
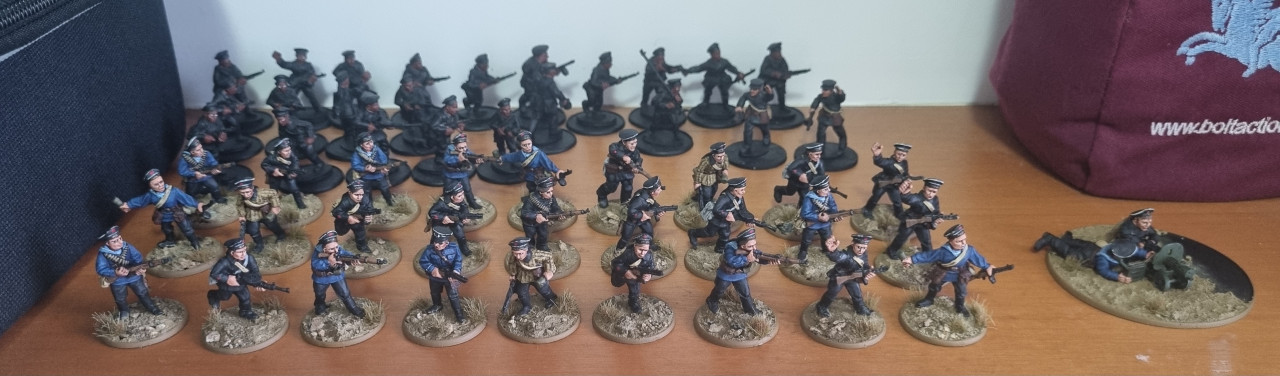
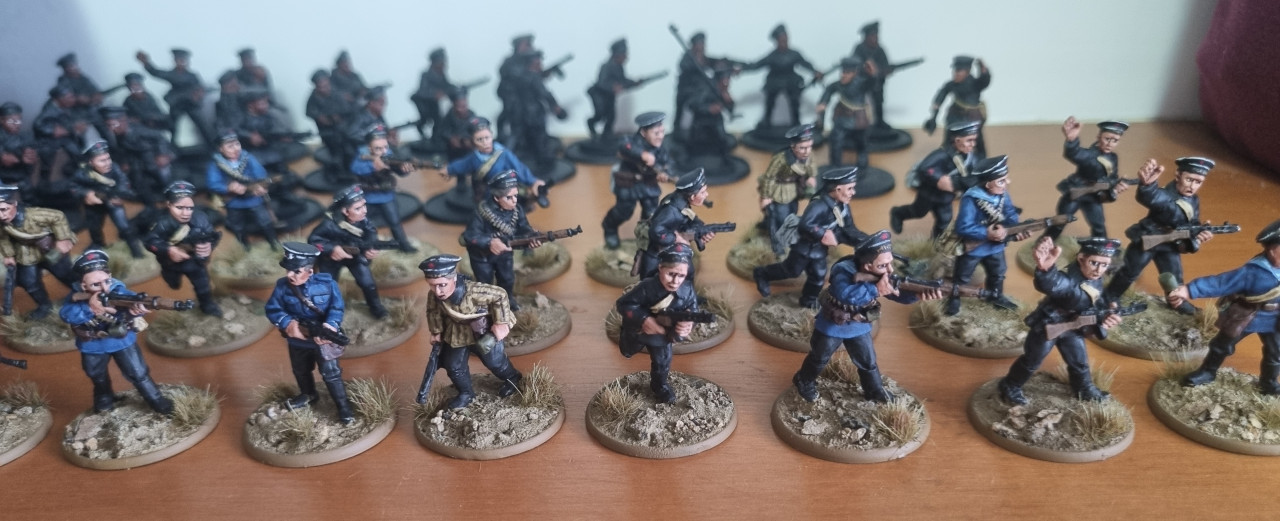
The reality is that I would need BIG forces, that would be capable of splitting into decent commands for a number of generals to control in the games. its one thing to look at a 'big' force on your shelves at home, but when it hits a table the size of those in my vision it will be eaten alive by the table that wont even notice the tiny morsel! "Figures...Fahsounds of them, Sah!" are what is required. But what periods?
WW2..has to be. The original, and once again, love...of course! But what else?
ACW has interested me as above. Total painted ACW miniatures at the time of writing; Zero. But i DO have that big box of figures in the pile of shame, so...that counts, right?!
Napoleonics. Yep...I have about 22 cavalry figures 'finished' for the napoleonic period ( a box of Hinchcliffe French Empress Dragoons that I bought second hand painted in a style 'of the time' (early-mid eighties i guess, judging from the Humbrol enamel finish) because I had the opportunity and I wanted to own a Hinchcliffe unit because the brand is hand-in-hand with classic big wargaming at places like Peter Gilder's ( and those that have followed) Wargames Holiday Centre in the UK.
But I ALSO have a few boxes of Perry and victrix British in the that pile...and a desire to acquire Victrix French Guard Lancers, which are some of the most beautiful miniatures I've ever seen, so- that again, is an exceptional start, right?!
On Balance I'd say I'm well ahead of the game then... I've just turned 49, and deciding to take on three periods that normally take collectors a lifetime to do one alone ( plus I have an unnatural desire to play the Sudan, but that can wait until I've knocked off these simple, short goals!!). And I've just been prescribed glasses in order to be able to hobby at point blank range in anything smaller than 1:1 scale. Simples! ;)
But here's the thing; I'm inspired. And motivated. And this is making me make some SANE decisions along with the insane decisions we've talked about above;
- Work on these goals for long term gratification and triumphant conclusion, and not to chase the next new game system on the block. LESS BREADTH, MORE DEPTH in what I do.
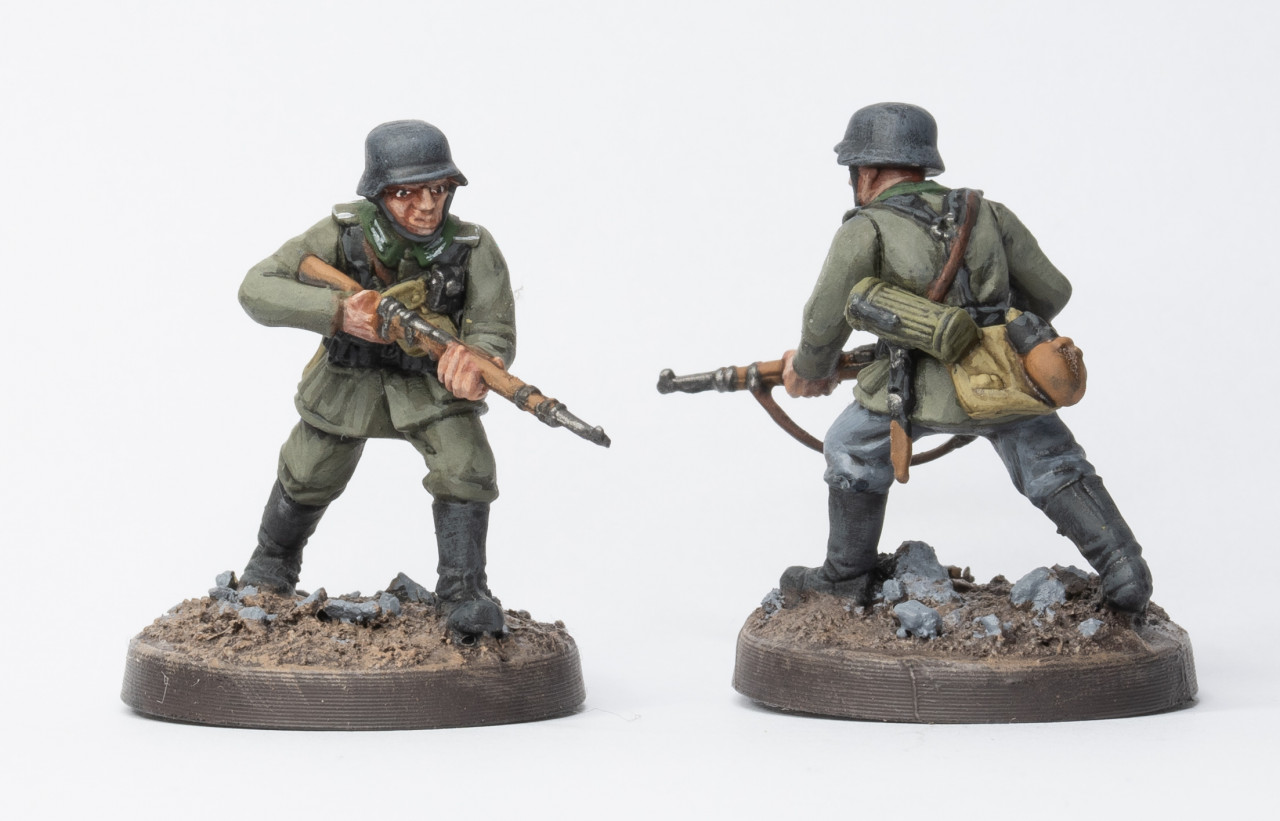
- The fact that I do this may occasionally be less sexy and appealing as I grind out the next batch of 35 figures in the same uniform, but EMBRACE THE SUCK as I see those goals get closer with every unit I finish.
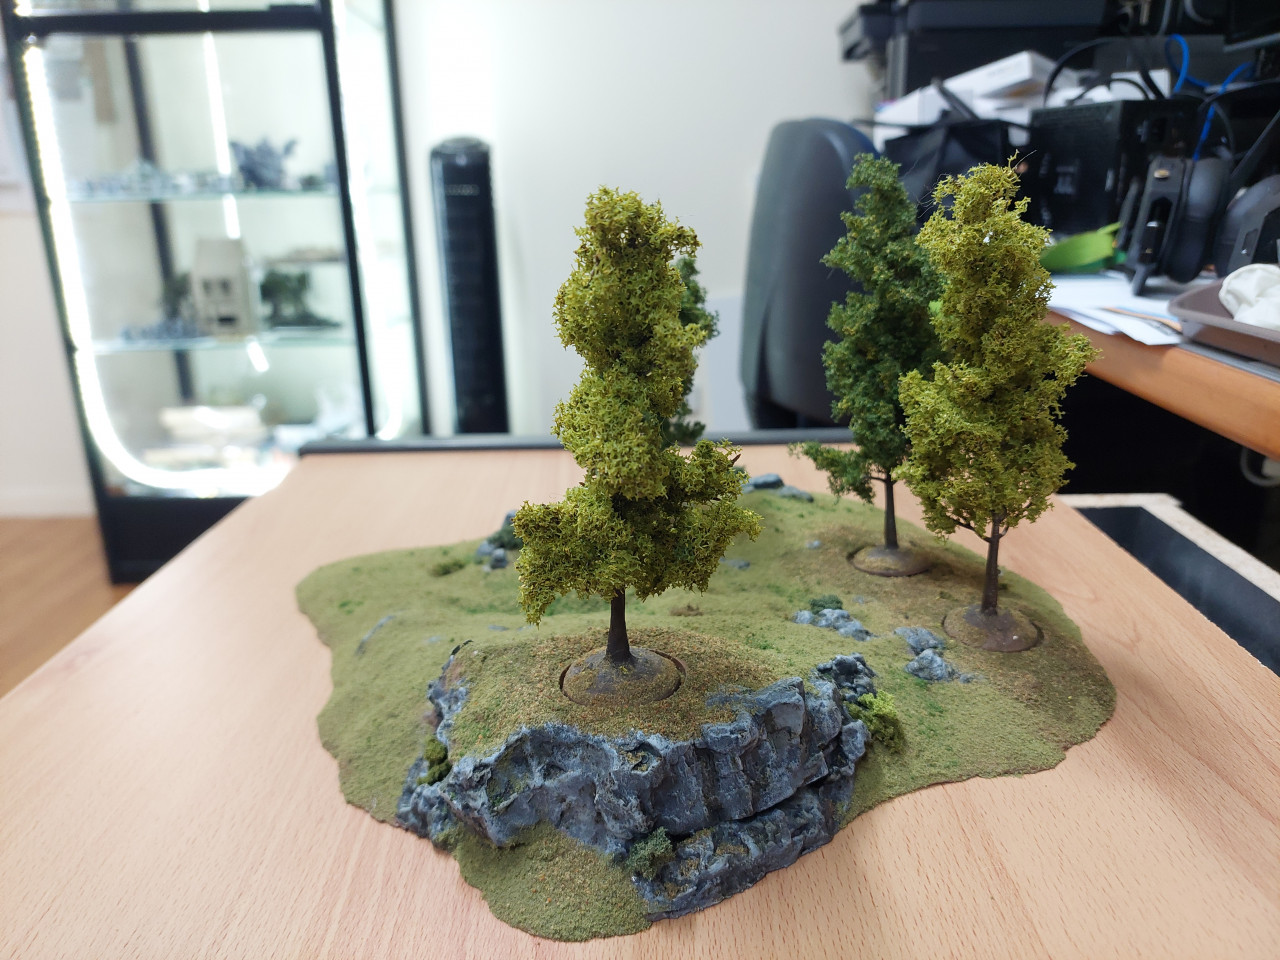
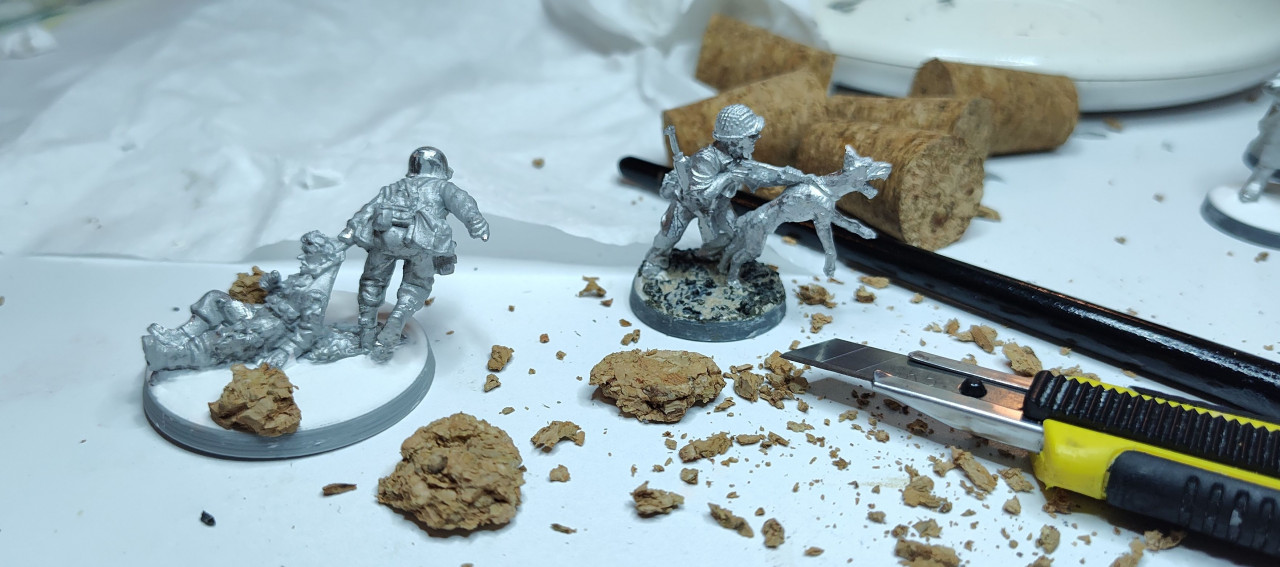
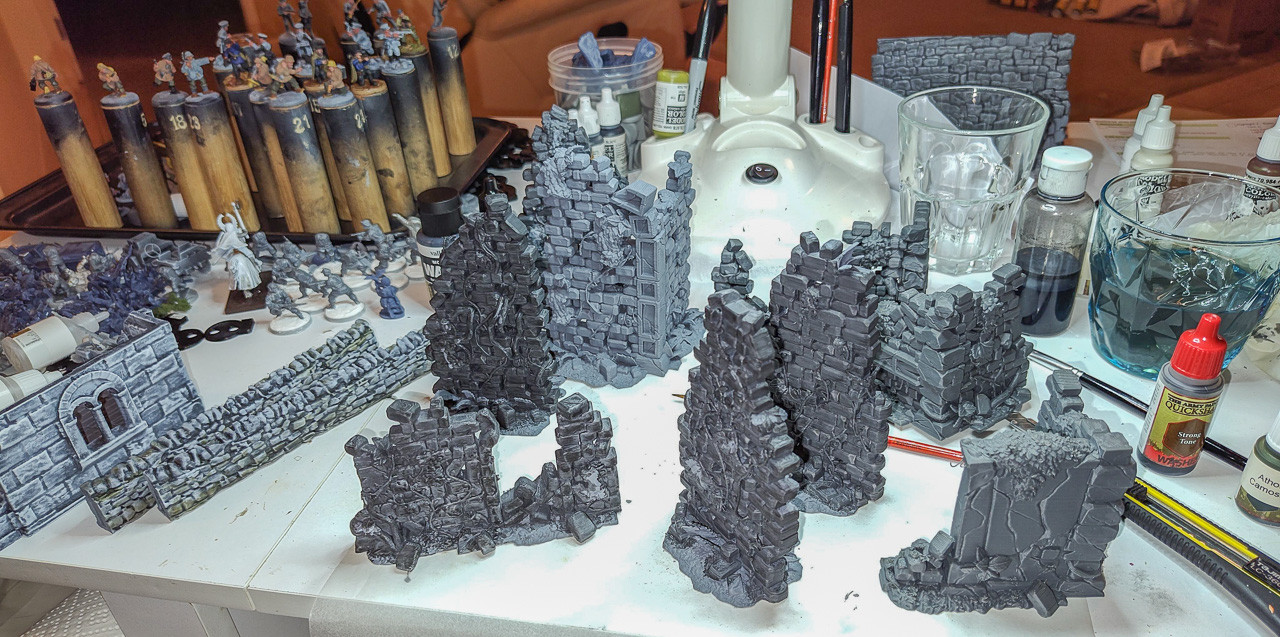
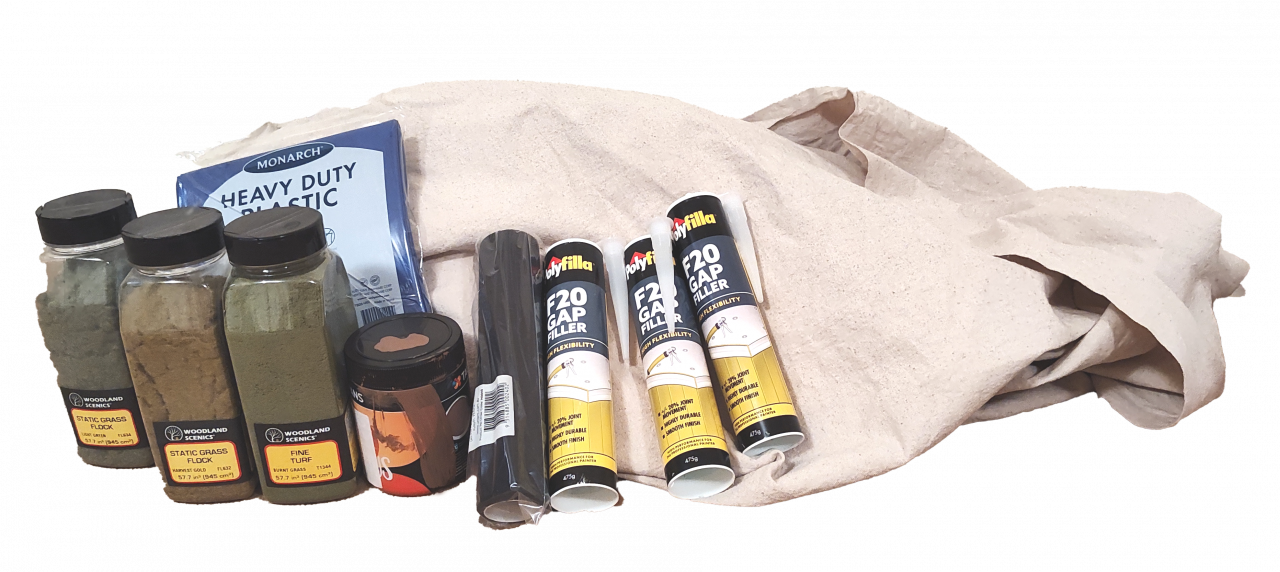
- ENJOY THE PRICE, not PAY THE PRICE of the journey to completion. I enjoy the full spectrum of the hobby; Historical research, collecting, modelling, painting, and the wargaming. I also enjoy the spectacle- just enjoying the display or photos of a beautiful game, the figures and the terrain ( or truly scenery) on the table. The journey is as important to me as the destination, as the hobby as a whole continues to entertain, inspire and allows me to decompress from stresses in life, particularly work. Even the small things such as assembling and kit bashing/converting plastics are immensely satisfying to me. So while others might avoid the time it takes and prefer to get into painting metals quicker, I enjoy including both.
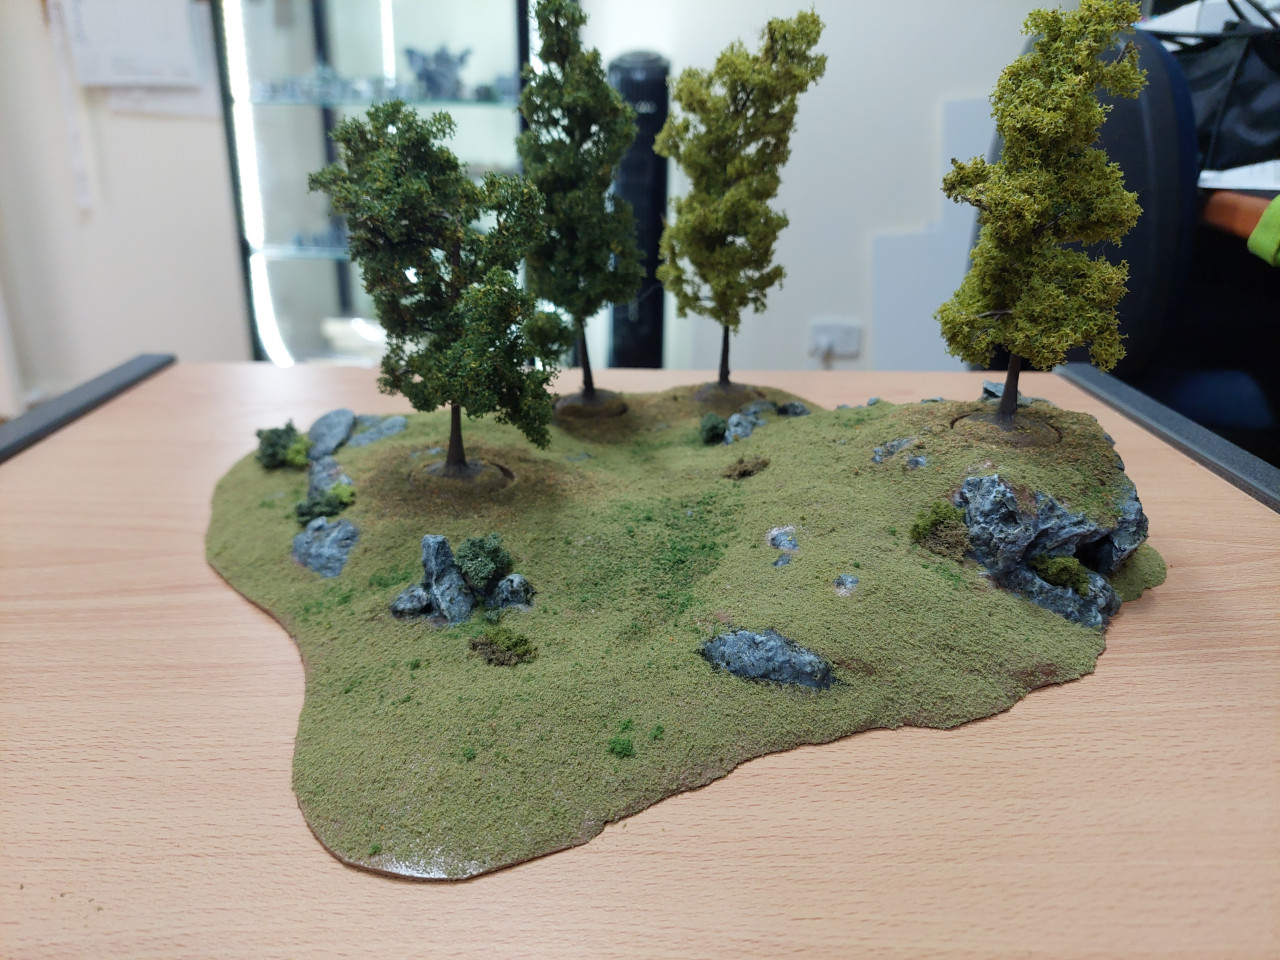
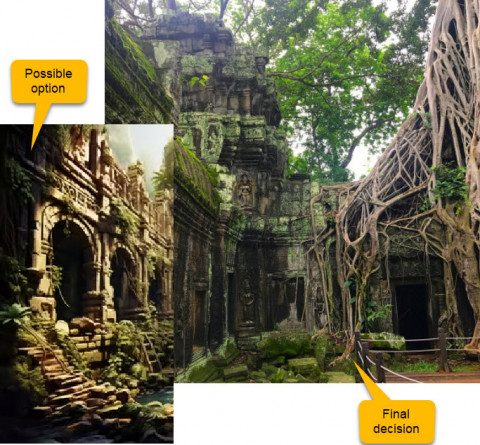
- DIRECTION OF COLLECTION...i can look at things like what types of terrain, playing surface, buildings, even the ground cover based on theatres of battles/campaigns. I can narrow down and plan effectively, It allows me to cascade these decisions down into workflow decisions and aesthetics such as coherent but versatile basing decisions for my troops bases.
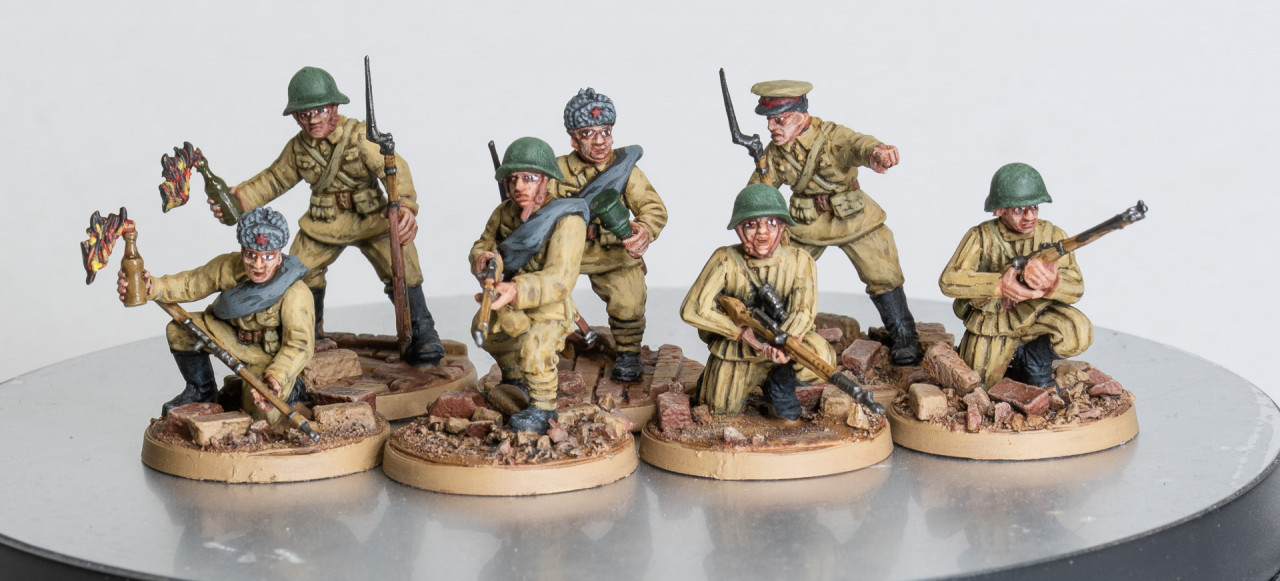
- TIMING IS EVERYTHING...Understanding and planning short/medium term goals such as games we want to play and record for our Channel, and working them into this greater long term, over-arching goal. For instance; I can base models for a summer historical engagement that we want to film as long as Im clever with the materials used I can then overpaint, apply snow, etc. But the reverse is more difficult and is likely to involved completely new physical bases. Doing urban bases on models can in the same way be changed to rural bases, if the 'rubble' doesnt contain walls etc, and the rubble is more gritty, with small pebbles instead of square edged bricks and the effect is gained somewhat from paint to get the effect.
All these things can be well executed with effort and practice...as well as restraint and long term goals in mind! I'm learning how to do them better and better all the time.
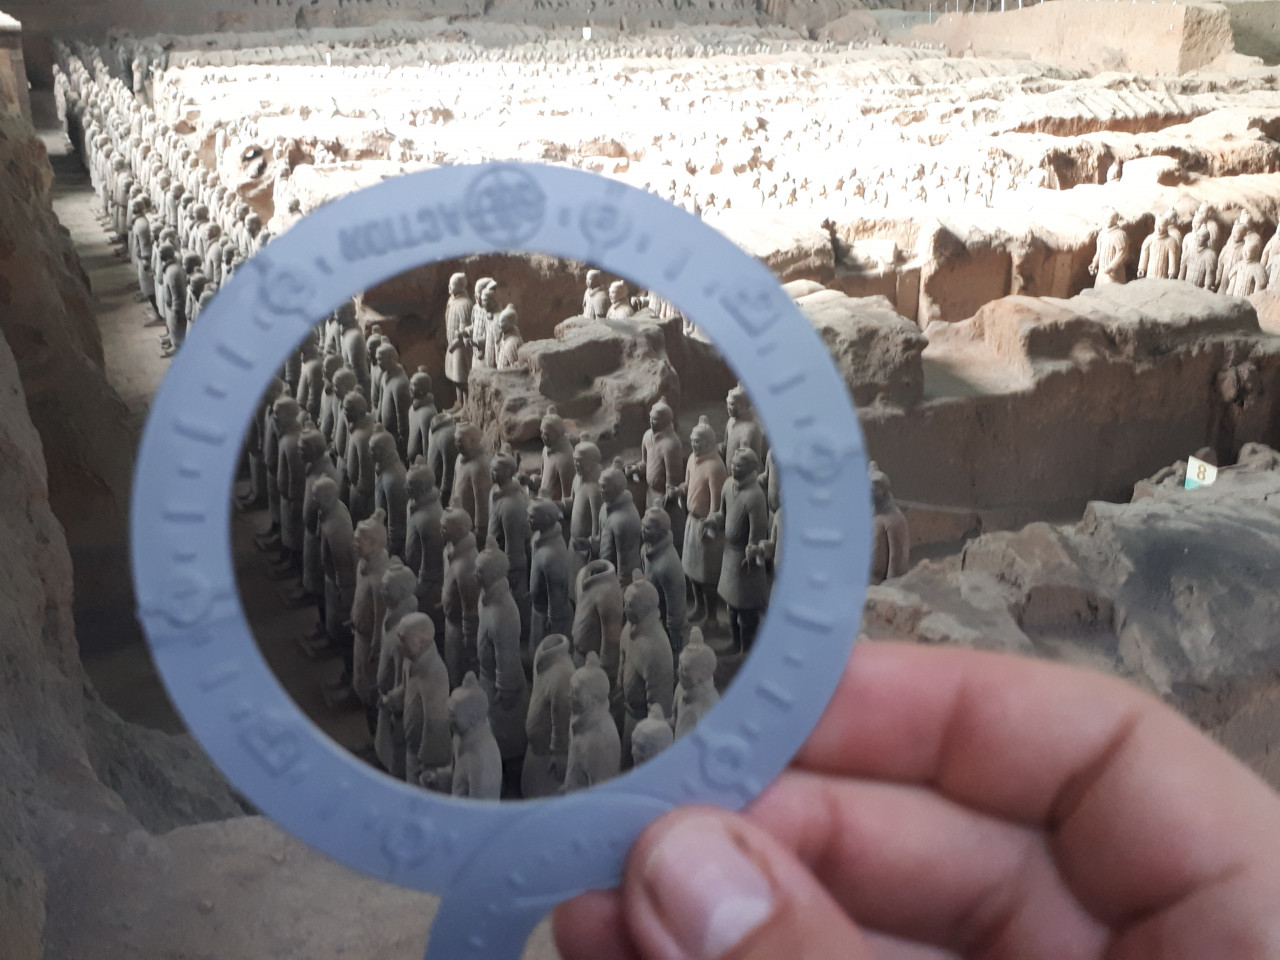
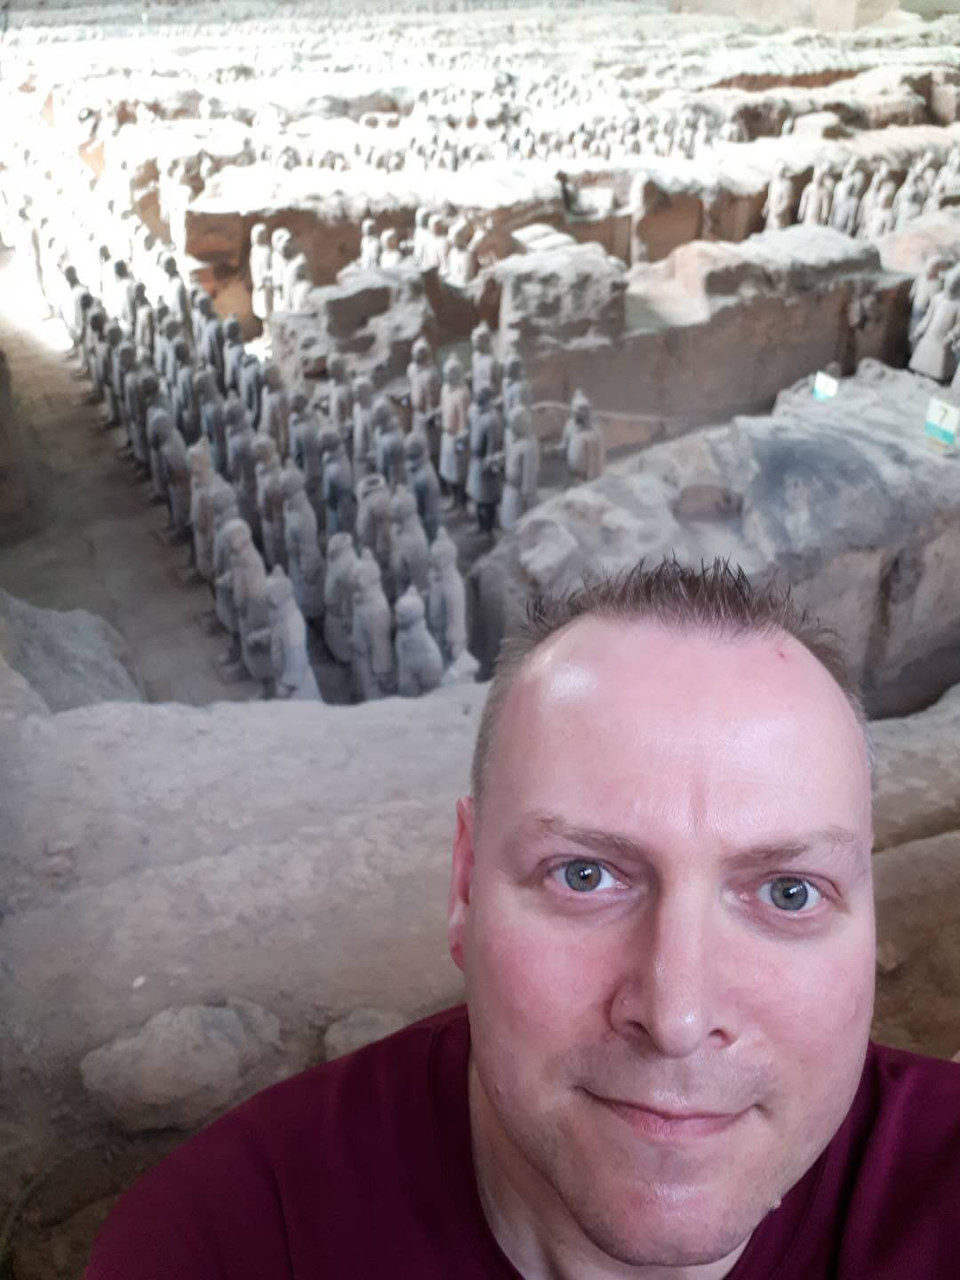
With all this in mind, I am quite enjoying setting out on my journey. I hope to achieve such armies as befits a warrior king to accompany him into the afterlife, as seen when I visited Xian a few years ago. I hope you enjoyed this brief outline of my intended trip into meglomania, and join me sometime soon for another installment of my 'Master plan' !.
I'd be interested in your thoughts and feedback below as to whether you've tread this path, why or why not and any advice you may have- or disagree with.
Dan